
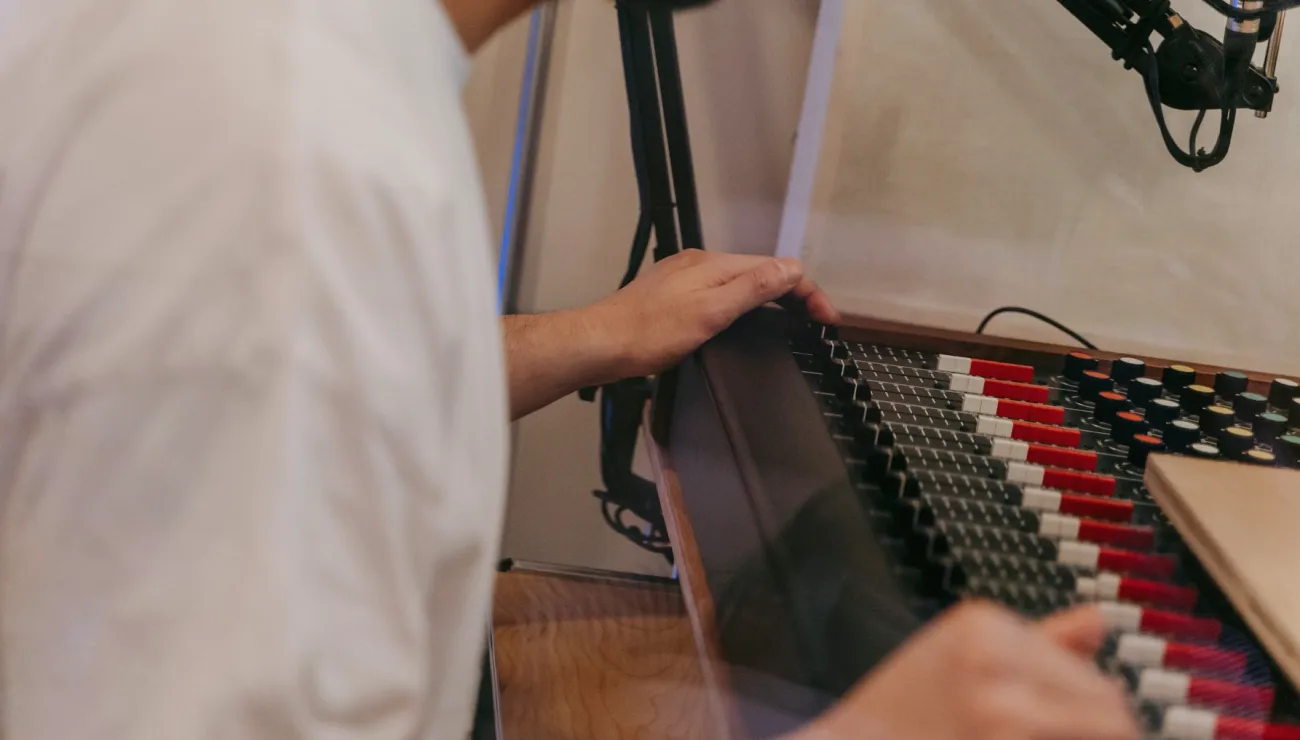
Why the check has a fixed order
A sound check that changes from one shoot to the next tends to miss the same things in different places. In the Sound Checks for Interviews and Panels module we teach one order and ask learners to keep to it, whether the job is a two-person interview in an office or a four-seat panel in a hired hall. The order matters more than speed. When the steps are always the same, you stop relying on memory under pressure and start noticing what is actually wrong with the sound in front of you.
This autumn I have been reworking the written sheet that goes with the module, and the main change is simple: every step now has one question attached to it. Not a long procedure, just something to answer before moving on. Is the signal arriving? Is the level safe? Is the voice clear? Learners who answer those out loud while they work catch problems earlier and explain them more calmly to the producer standing behind them.
Starting with signal before voices
The first pass has no speaker in it at all. Before anyone sits down, we confirm that every microphone is reaching the mixer and the recorder, that each channel is labelled the way the crew will read it, and that headphones show the same thing the meters show. It sounds obvious, yet a swapped cable or a muted channel found here costs ten seconds, while the same fault found after the guest has been introduced costs the first minutes of a conversation.
Only then do we ask a speaker to talk. Learners practise greeting each person by name, asking them to speak at the volume they will use in the session, and avoiding the habit of counting upward, which tends to produce a flat, careful voice nobody uses in a real discussion. A short natural answer, such as how they got to the venue, gives a far more honest reading of level and tone.
- Confirm every channel reaches mixer and recorder
- Check labels match what the crew will read
- Compare headphone sound with the meters
Listening to each speaker, one at a time
With signal confirmed, we check speakers individually, and the word that matters is individually. On a panel it is tempting to set all the levels while two people chat across the table, but that hides the quiet person and flatters the loud one. We ask each speaker to talk alone for about half a minute, set the gain for that voice with some headroom left for laughter or a raised answer, and note anything unusual before moving to the next seat.
While listening we look for specific faults: clothing that rustles against a lavalier, a handheld held too far from the mouth, a table that thumps when a hand is rested on it, breath popping on a shotgun aimed too low. Each of these is easier to fix with a calm word at this stage than with software afterwards. Learners keep a short written note per seat, which later becomes a useful record if the recording is questioned.
Checking the whole table together
Once each voice is set, we bring everyone in together. This second pass is about balance and bleed. Ask two neighbouring speakers to talk in turn and listen for how much of one voice appears in the other's microphone. Some overlap is normal, but if it makes a speaker sound hollow, a small change in placement or direction usually helps more than a change in level.
This is also where we watch the meters during the first genuine exchange. People relax once the check is over and speak differently, so we stay alert for the first few minutes of the actual session and keep a hand near the gain. In class we rehearse this handover moment deliberately, because it is where a well-set check often drifts, and the lesson is that the check does not truly end until the recording is running smoothly.
Recording clear room tone
Room tone is the last step and the one most often skipped. It is simply thirty seconds or so of the venue with nobody speaking, recorded on the same microphones at the same settings. Editors use it to fill gaps and smooth cuts, and without it a removed cough leaves an audible hole where the room seems to vanish.
We ask learners to announce the quiet clearly, keep the whole room still, and listen to the recording itself rather than trusting the meters. This is often when ventilation hum, a buzzing light or traffic from outside first becomes obvious. Hearing it before the session starts means there is still time to switch off a unit, close a door or move the table, which is a far better moment to find out than during the edit.
- Ask for stillness and say so aloud
- Record on the same mics and settings
- Listen back for hum, buzz and distant traffic
What learners take away from the module
By the end of the module, learners can run the full check on an unfamiliar setup without prompting and explain to a non-specialist what they are doing and why. They are not expected to produce perfect sound in every room, since some venues are simply difficult, but they should be able to spot problems early, decide what can be fixed on the spot and say clearly what cannot.
The module builds on microphone choice and mixer setup taught earlier in the programme, so some familiarity with those basics is useful before starting. We ask learners to bring their own notes from previous sessions and practise on real rooms rather than on an empty studio, because the habits that matter are the ones that survive a cold hall and a producer asking how much longer you need.
A sound check is a short routine, not a ceremony, and its value comes from doing the same steps every time: signal, individual voices, the table together, then room tone. Learners who adopt that order tend to find problems while they are still cheap to fix. If you want to know how the module fits your crew's work, get in touch and describe what you record.