
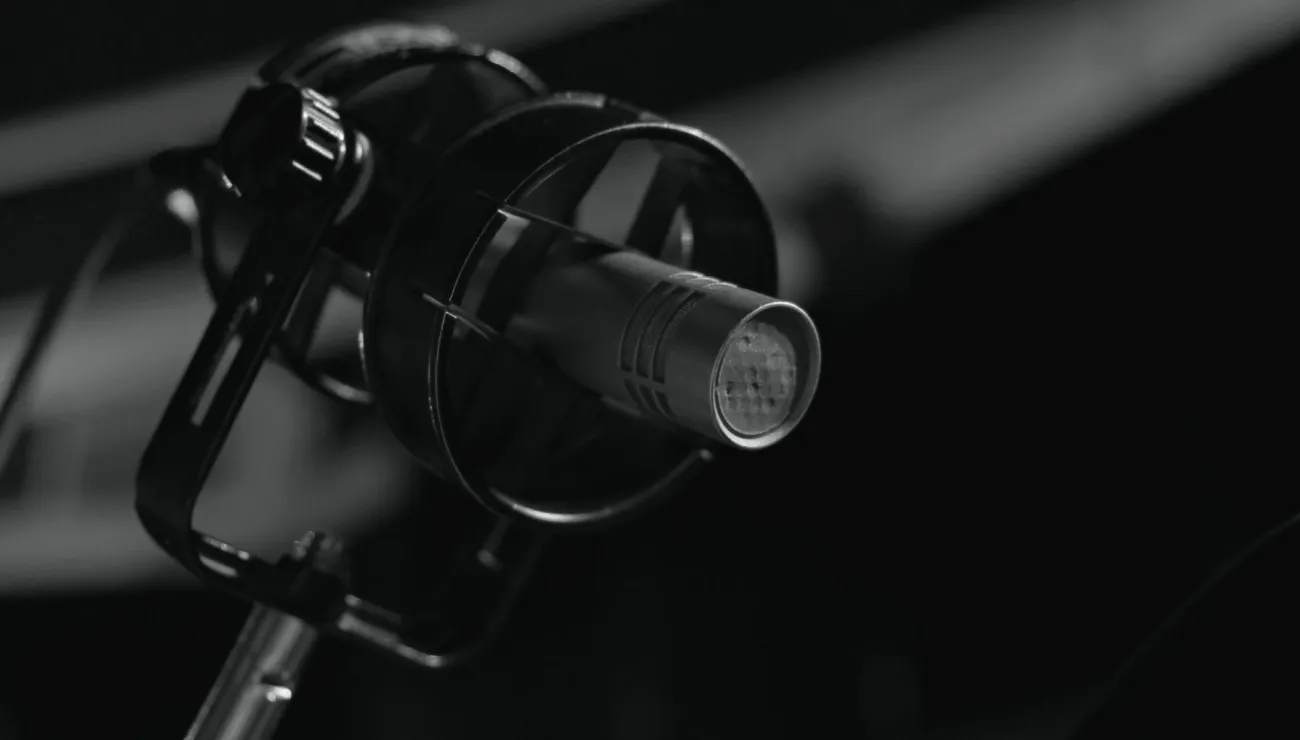
Starting with the wrong microphone type
The first mistake happens before any cable is plugged in. Crews often pick a microphone because it is already in the bag, not because it suits the room and the people in front of it. A shotgun on a stand works well in a quiet office with one guest who stays put. The same shotgun in a hall with a bare floor and hard walls picks up the room as much as the voice.
Handhelds have the opposite problem. They give a strong, close signal, but only if the speaker holds them near the mouth, and guests who are not used to microphones drift away mid-sentence. A lavalier solves the distance issue but brings clothing noise and cable handling. None of these is wrong in itself. The mistake is choosing without asking who is speaking, how much they will move, and how loud the room already is.
- Ask how much the speaker will move before choosing
- Match the microphone to the room, not to the kit list
- Keep one alternative type in the bag
Clipping a lavalier where it rubs or hides
Lavalier placement looks simple, which is why it goes wrong so often. The usual fault is clipping the capsule too low on the chest, where the voice arrives weaker and the room arrives louder. Another is putting it under a collar or scarf, which muffles speech and adds a papery rustle every time the guest turns their head.
Aim for the centre of the chest, roughly a hand's width below the chin, with the capsule facing up and nothing touching it. Leave a small loop of cable behind the clip so a tug on the lead does not travel straight to the capsule. On a jacket with a heavy lapel, a short length of tape on the inside of the fabric can hold the capsule steady without pinching it. Check by asking the guest to speak and turn while you listen.
- Capsule centred, about a hand below the chin
- Nothing covering the grille
- Strain-relief loop behind the clip
Placing a shotgun too far or aimed carelessly
A shotgun microphone is directional, which tempts people to mount it at the back of the room and trust it to reach. Distance is the enemy. Every doubling of the gap between mouth and capsule costs you level and lets more room sound in alongside the voice, so the recording ends up thin and echoey even though the pickup pattern was correct.
Bring it as close as the frame allows, just above or below the picture edge, and aim it at the speaker's mouth, not at their forehead. Angle it slightly away from reflective surfaces such as glass walls or a bare table. If two people share one microphone in a panel, expect one of them to sound worse. A shotgun covers a single position well; it does not cover a whole stage.
- Get it as close as the shot permits
- Aim at the mouth, not the head
- Avoid pointing it toward glass or bare walls
Ignoring the handheld grip and the table
On panels, handheld and stand microphones fail in quiet, predictable ways. Guests pick the microphone up, set it down, tap it with a pen, or turn to the person beside them and speak across it. Each of these produces a bump or a drop in level that is almost impossible to repair afterward.
Brief the speakers before the session. Show them the distance that works, roughly a fist from the mouth, and ask them to leave the microphone on its stand if you have used one. Place stands on a soft mat or folded cloth so table knocks do not travel up the stem. Keep cables off the edge of the table where elbows catch them. Two minutes of instruction at the start saves an hour of cleaning up later.
- Show the fist-from-mouth distance
- Soft mat under each stand
- Cables clear of elbows and table edges
Skipping the listen-through before you record
The most common mistake sits underneath all the others: placing a microphone and moving on without listening. Headphones tell you things your eyes cannot, such as a faint hum from the lighting, a rustle from a jacket, or one speaker sitting well below the others. Many crews glance at the meters, see movement, and call it good.
Listen to each microphone alone, then all together, while the guest speaks at normal volume and then at the louder moments they might reach in conversation. Ask them to laugh, to say a name, to read a sentence quickly. Adjust placement first and gain second, because moving a microphone fixes problems that turning it up only makes louder. Record a short test and play it back through the same headphones before the real session starts.
- Listen to each microphone on its own first
- Test a laugh, a name and a quick sentence
- Fix placement before touching gain
Leaving the plan to memory
Even careful crews repeat the same error on busy days: they rely on remembering what worked last time. Rooms change, guests change, and a placement that suited one interview may not suit the next. A short written routine keeps the basics in front of you when the schedule is tight and someone is asking how long it will take.
In the course we ask learners to keep a one-page card for each setup: microphone type, distance, capsule direction, and what they heard in the headphones. After a few sessions the card becomes a record of what actually works in the venues they use. It also makes handing the job to a colleague far easier, because the reasoning travels with the kit instead of staying in one person's head.
Most of these mistakes come from hurrying, not from lack of skill. Choose the microphone for the room and the speaker, put it close, protect the capsule from cloth and knocks, and always listen before you record. Keep a short card of what worked so the next setup starts from evidence instead of memory. These habits are small, but together they decide whether an interview needs rescuing in the edit or simply needs trimming.